Editing Wallpapers For Your Linux Distribution
- writerforlinux
- Jul 14, 2024
- 3 min read
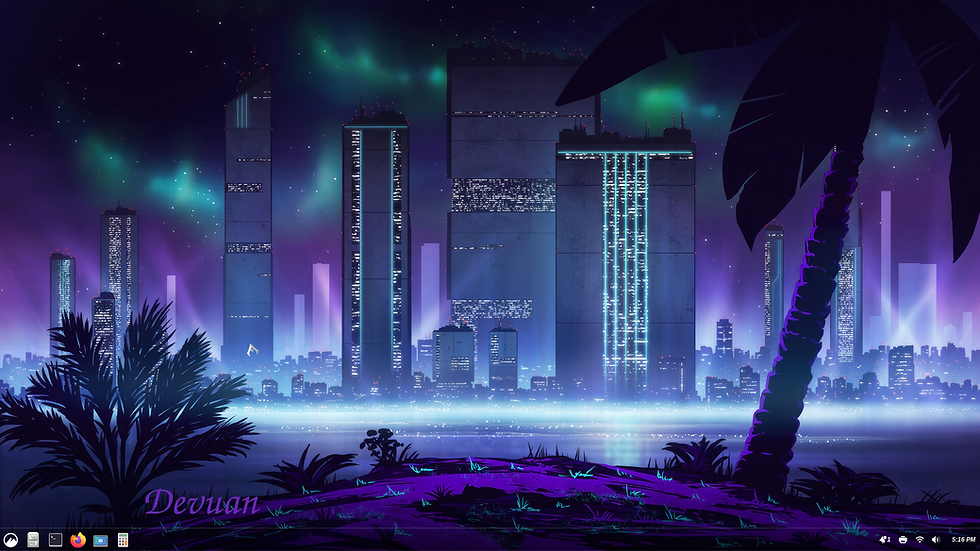
Now that you have the Linux operating system you want installed, you can fancy up the desktop with a custom wallpaper.
I'll cover how to do that here using GIMP. GIMP is short for the GNU Image Manipulation Program.

Now you'll need to find a wallpaper website of course of your style of choice. Today I'm using the UHD Wallpapers website. These are digital wallpapers and have worked well for my 1920 x 1080 Gaming monitor. The link is below and the screenshot I took is below so you can see what it looks like in my browser:

They (uhdpaper.com) have, from what I can see on the website 3 resolutions. First is 3840 x 2160, 2560 x 1440 and 1920 x 1080. The resolutions are further down on the page under the picture once you click on the wallpaper.
Once you download your wallpaper go to the directory where you downloaded it to and right click on it and choose open with GNU Image Manipulation Program.
As soon as the program opens the wallpaper, GIMP will show you that the picture has an embedded color profile. Here you'll want to click 'convert'. See the screenshot below.

Once the convert button is pressed GIMP will open your wallpaper. Finding the text tool is what you'll need to locate next. The next screenshot shows the 'Text Tool' I'm referring to.

Upon selecting the 'Text Tool' your 'Font Size', color selection and other options should appear in the interface. My Gimp is set up differently as my font size, color selection and the like are on the right. Yours by default should be on the left.
Select your font and the 'Font Size'. See screenshot below.

Then select your color (foreground color) of choice for your font.
I've found that using same or similar colors that are already in the wallpaper work well with font color of my choosing. You may have to adjust the color darker or lighter to fine tune it to show on your wallpaper.

To do that, move the cursor (above screenshot) around inside of the color box. Then click ok. Then click on the wallpaper where you would like to type in your distributions name or whatever you'd like your wallpaper to say.

In the above screenshot I had just finished selecting the color of the font and clicked 'ok'. Here I have placed the cursor exactly where I want to edit the wallpaper. The small square box with the cross in the center is where GIMP will place the letters. The mouse cursor is off to the right and appears a small 'x'.
As a general rule moving the mouse cursor away from where you what to start editing is helpful.

In the screenshot above the capital D was typed along with the lower case e and v. Had I not liked the 'placement of the word' on the wallpaper I would then press the backspace key to removed the word typed. By moving the mouse cursor you will be able to get your placement just right. Sometimes this can take a few minutes to see how GIMP does this.*
When you're content with where your text (with the word or phrase encircled with the text box) move your cursor up to the file tab at the top of the interface. Select 'File' and when the drop down menu appears, select 'Export As'. See screenshot below.

Doing so (clicking 'Export As') will ask you, 'Export Image As jpeg? Click 'ok'.
Before closing the program, make sure all that hard work that you just did gets saved. Go to the top of the program and click 'File' > 'Save As'. *Note: Gimp by default, places all of the edited pictures to the 'Documents' directory.

In the screenshot above I've saved 'Motorcycle.xcf' to the 'Documents' directory.
Hope everyone's summer is going well and as always drive your Linux safe.
Alex


Comments